Trimming the Christmas Tree
- Kate Watson
- Nov 27, 2020
- 4 min read
Updated: Dec 9, 2020
Six tips for trimming your Christmas tree this year
I have to be completely transparent here. Today, I was posting the corresponding You Tube video to this blog post about how to trim the tree, and...my fully decorated tree fell over. My. Tree. Fell and I watched it fall as I was heading out my front door while looking through the window in the door. I do hope you can picture the scene with me pawing at the door past the dogs to get back in as I was watching it tip. Luckily, it just hit the wall and nothing broke, but I ended up taking down all my ornaments and fixing the problem. I've decked my tree twice now.
There are two types of people when it comes to the holidays; those who wait to set up their tree and those who immediately swap their Halloween for Christmas décor. Whatever your style, I hope you find some inspiration in this fool proof way to trim the tree!


Step One: Find, buy or pull out your Christmas tree, sturdy base and Tree skirt
One of my favourite traditions is gathering our own tree every year. I take a sliver off the bottom of the trunk and allow it to dry before I scribe the date on it and add it to a bowl. I look forward to the day when it becomes filled with memories of Christmas' past.
There are so many different skirts, collars or stands to choose from now. It allows us to add more personalization and uniqueness to our tree, whether you wrap a chunky wool blanket around as a tree skirt, use a galvanized trough, wooden crate, champagne cart, basket or a fresh linen tree skirt.
Step Two: Add your lights
I like the small fairy lights on a sparse tree because the strands are just so much smaller than the traditional green lights and don't stick out as much. The trick is to create depth, even with a sparse tree, so layer multiple strands of lights in towards the trunk of the tree and further out on the branches. There are so many different methods of stringing your lights, but try to make the most out of each strand.
Step Three: Hang your garland
There are many alternatives to the traditional beaded garlands today such as coordinating ribbon laced throughout your tree, or knotted ribbon tassels or beautiful wooden beads. The trick with garland is to make it swoop between the branches rather than pulled taut.

Step Four: Keep in mind a colour palate and add your larger baubles first but remember balance
One of the biggest decorating tips I can share is to step back often. Often times we focus on what is in front of us and easiest to see or reach. Step back often to ensure that you are spreading your larger baubles out and do not hesitate to rearrange until it looks well balanced in shape and colour. Walk around the sides of the tree to make sure your ornaments can be seen from all angles of the room.
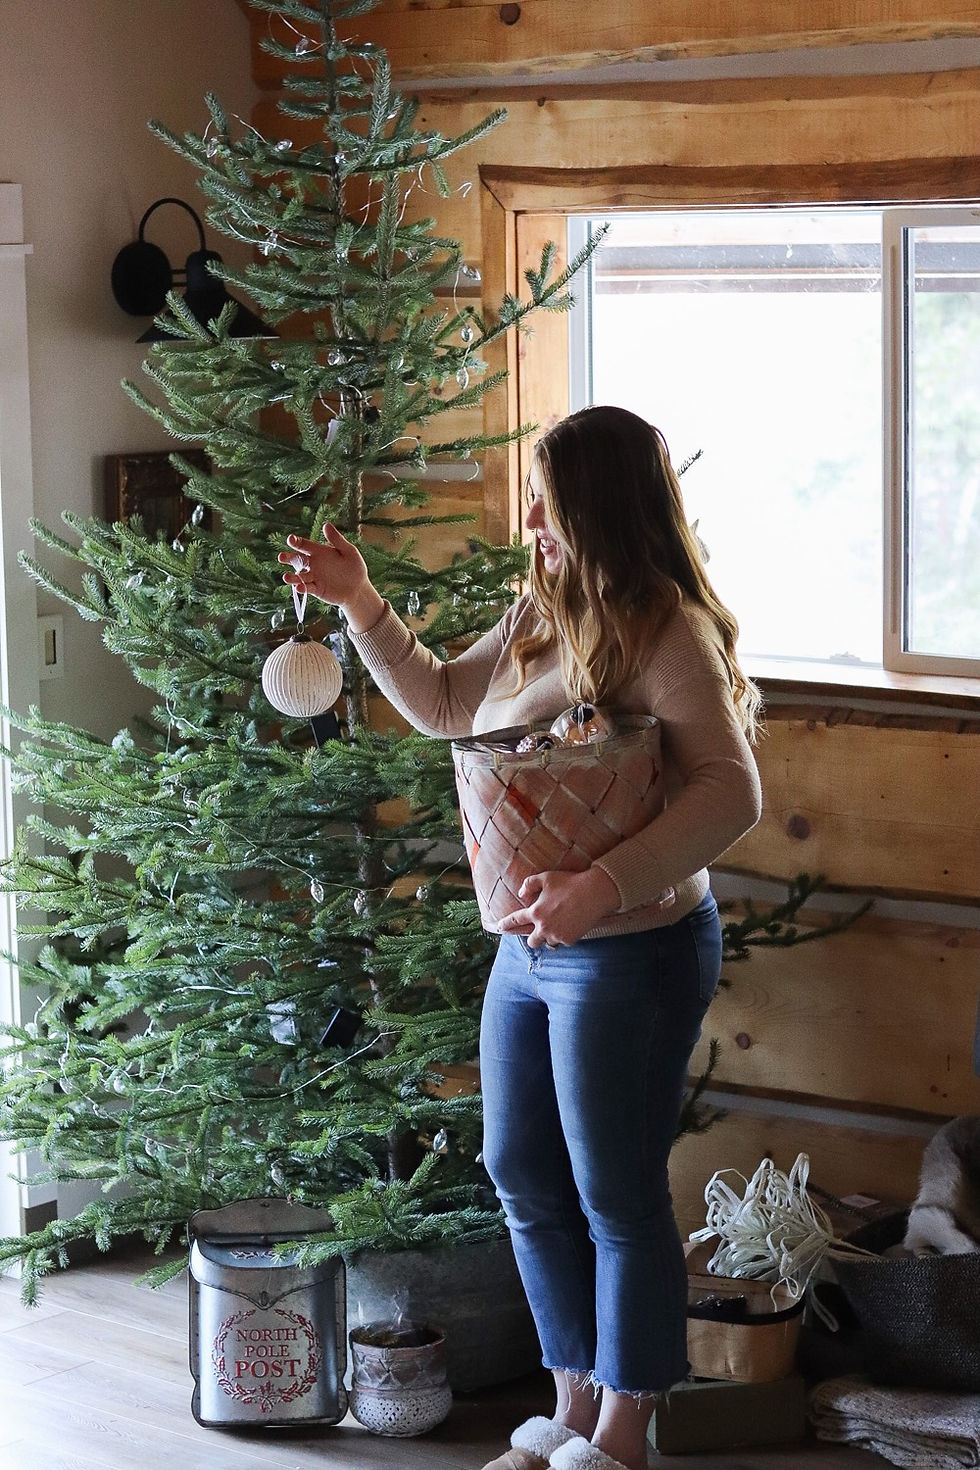
When you are hanging your baubles, hang the larger ones towards the trunk not only to fill negative space and create depth, but also to protect them so they do not slide off.


Step Five: Add the filler ornaments
Don't fret too much over keeping to a theme. If you have put a solid base colour down, add the ornaments that make you feel joyous or bring memories. It will all tie together if using a similar grounding colour. I see so many You Tube video hauls where they buy a new theme every year and I just cannot bring myself to buy new each year (plus find the space to store it all). I typically buy a few ornaments after Christmas with colours that compliment each other. This is how I build up a base that I can reuse year after year.
I like to make my ornaments look a little more delicate, so I stopped using the metal hooks on my ornaments and instead tied a silk ribbon to each of them. It elevates your baubles to look a little more lavish, and once you stop using hooks, you will never un-see hooks on a tree.
A trick for hanging your filler ornaments is to allow your clear or glass ornaments to hang near the tips of the branches and the more opaque baubles to hang deeper within the tree to give your tree more depth.
If you have a house with young ones or pets, hang your more delicate baubles towards the top and fill the bottom with shatterproof, fur, plastic or unbreakable ornaments.


Step Six: Add a topper
There are so many beautiful ideas for a tree topper. Use what speaks to you. I bought a really beautiful felted dove holding an olive branch a couple years ago that always went on a tree in my bedroom but this year I found a fun antique style beaded snowflake that matched other snowflake ornaments I had been collecting.
To hear these tips and more, watch our video


Comments